Insulated Attic Cover DIY
By Ian Morse, Property Manager
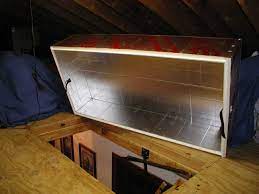
Here’s a weatherization-meets-energy efficiency tip, and it’s even DIY—try making an insulated attic access cover yourself!
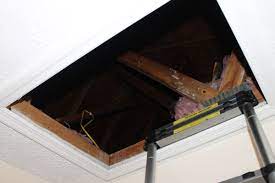
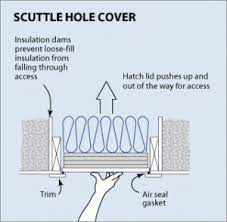
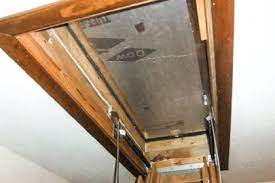
Whether you have a drop-down attic ladder or a “scuttle hole’ (also called an “attic hatch”), the access is a common place where air exchange and heat transfer occur. That’s not good for your comfort or power bill. In most houses in North Carolina, the top-floor ceiling is the thermal barrier. Like the exterior walls, the ceiling is insulated (and ideally air-sealed) to keep indoor air separate from outside.
The attic, the space between the ceiling and the roof, is typically vented and unconditioned. When it’s hot outside, it’s hot in your attic. When it’s cold outside, it’s cold in your attic. Even when it’s windy outside, it can be windy in your attic. A lot of people don’t realize the attic access is like an exterior door. If done well, it separates the indoors from outside. If not done well, the air inside that you have paid money to make comfortable can escape. Or outside air can get in, creating temperature imbalances and drafts.
There are some interesting attic covers and insulated ladder doors available for purchase, but building an insulated cover is also a good DIY project. Foam board insulation is easy to cut with a razor knife. The pieces can be stuck together with foil tape. Peel-and-stick weather stripping makes a good seal. A curated list of resources is below.
A few tips:
- Avoid using fiberglass batt insulation. It is messy and ineffective, and between ladder rungs it is a trip hazard.
- Anytime you go into your attic, orient yourself to know where it is safe to stand. Do not step or put weight onto any insulation.
- If working from a ladder, make sure the ladder is set up properly and always keep three points of contact.
Helpful resources:
- Video of making an insulated attic access cover: https://www.youtube.com/watch?v=8POZvK9QB6k
- https://www.youtube.com/watch?v=ZZUVt55iA5k
- https://www.youtube.com/watch?v=89GFFQtV8Yo
- Department of Energy Instructions: https://www.energy.gov/energysaver/services/do-it-yourself-energy-savings-projects/savings-project-attic-stairs-cover-box


